The day the installers finish is the day many people have been waiting for. The room you’ve only seen as a 3D render is finally real. In the excitement, we tend to walk around, take photos and sign off within a few minutes.
But most problems with built-in furniture can’t be seen from two metres away. A door a few millimetres out of level, a drawer that won’t open all the way, hardware that doesn’t match the quotation — these usually surface a few weeks into use, and by then getting someone back to fix them is much harder than before the final payment.
This article covers seven things homeowners can check themselves. You don’t need to be a carpenter, it takes about 30–60 minutes per room, and it makes sure what you paid for is what you agreed.
Before Handover Day
A good inspection starts before the installers pack up their tools. Have these four things ready and the check will be faster and more thorough.
- The latest 3D render and shop drawings, to confirm compartments, doors, drawers and lighting are where you approved them
- The quotation or spec sheet, to check materials, laminate colours, hinge models and drawer runners
- A phone torch, tape measure and coloured tape or sticky notes, to light dark corners, measure gaps and mark anything that needs fixing
- Unhurried time — book the inspection in daylight and ask a company representative to walk through it with you
Tip: check one cabinet at a time, left to right and top to bottom, so nothing gets missed.
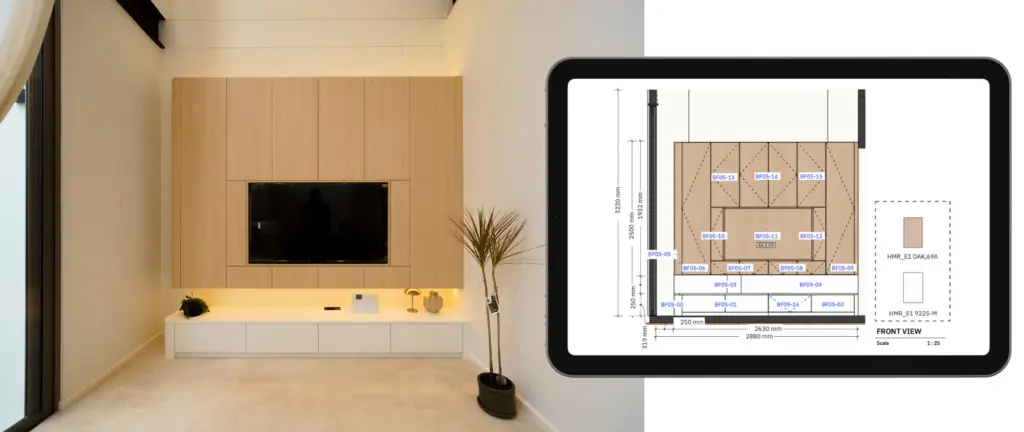
1. Does It Match the Drawing? Position, Size and Compartments
Start with the big picture. Open the 3D render and compare it with the real thing, one cabinet at a time. Count the doors, drawers and shelves, check that appliance openings are in the right place, and that the fridge or washing machine space leaves enough clearance.
How to check: measure each appliance opening with a tape measure and compare it with the actual appliance. An opening even 1 cm too narrow may mean the appliance won’t fit.
2. Level Doors and Even Gaps Everywhere
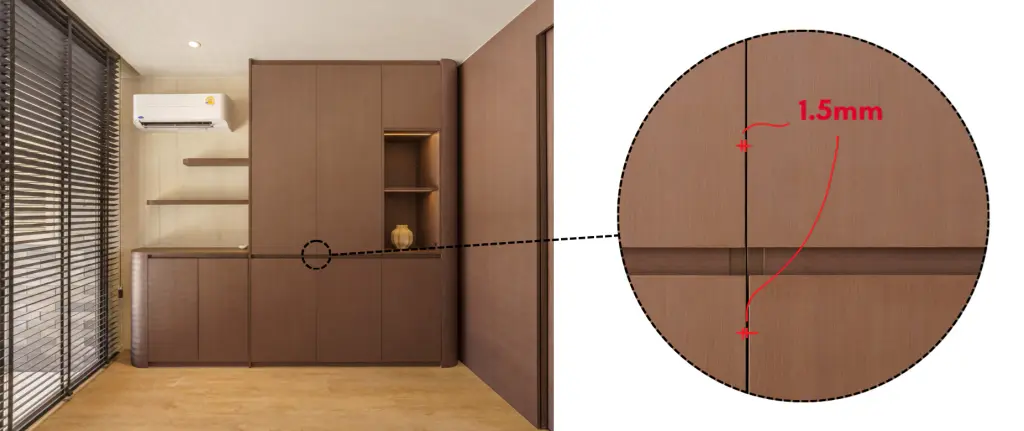
The gaps between doors show the quality of the work more clearly than anything else. Well-installed doors have gaps of the same width all the way along, both vertically and horizontally, and the top edges of every door in a row line up.
At G-CODE, our standard door gap is 1.5 mm with a tolerance of ±0.5 mm, so an acceptable gap is anywhere from 1.0 to 2.0 mm.
How to check: step back 1–2 metres and look along the gaps from the front. If the top of a gap is wider than the bottom, or neighbouring doors sit at different heights, mark it with tape. Most of these can be adjusted at the hinge without taking anything apart.
3. Open Every Door, Pull Every Drawer All the Way
Don’t stop at a few. Open every door and pull every drawer to the end of its runner. Doors should close softly on their own without slamming. Drawers shouldn’t stick or scrape, and shouldn’t hit a handle, the wall or the next door.
How to check: for kitchen drawers, put something heavy inside and pull again. Some drawers glide when empty but drop off the runner under a real load.
4. Edge Banding and Surfaces
Hold your phone torch at a low angle to each door. Raking light shows scratches, dents and bubbles under the laminate far better than direct light. Then run your finger along the edges. A good edge is smooth, not sharp, free of glue and never lifting (good edges start with edge banding in the factory).
How to check: look at both the outside and inside of every door, including the edges of the shelves inside — the part most people miss.
5. Joints With the Wall, Floor and Ceiling
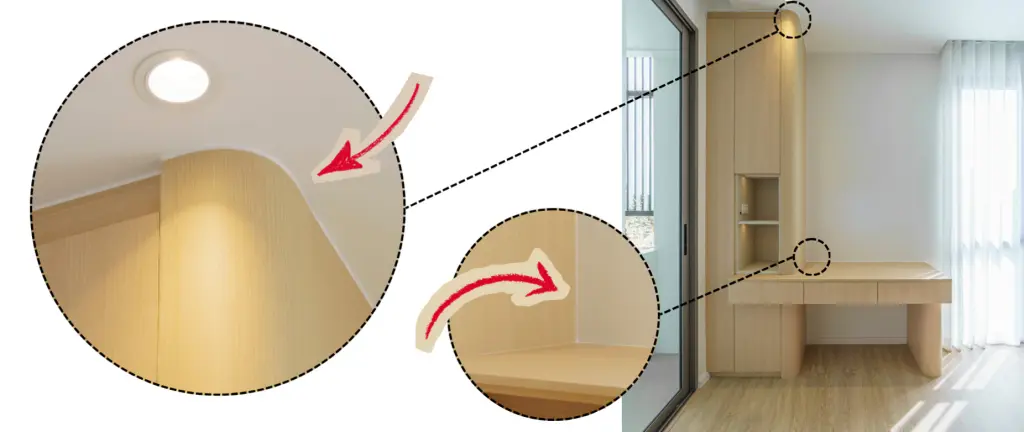
No real wall is perfectly straight, so good built-in work needs a clean way to finish the joints. Check that fillers and trims sit tight against the wall and ceiling, that silicone runs in a smooth line without lumps, and that there are no gaps where insects or dust can get in.
How to check: shine your torch along the joints above the upper cabinets and under the base cabinets — especially under the sink, which needs the best water seal of all.
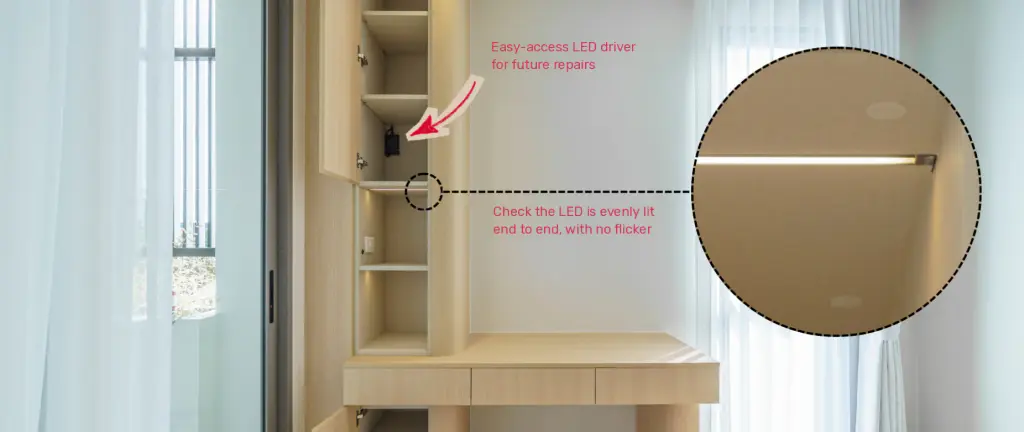
6. Lighting, Sockets and Cable Access
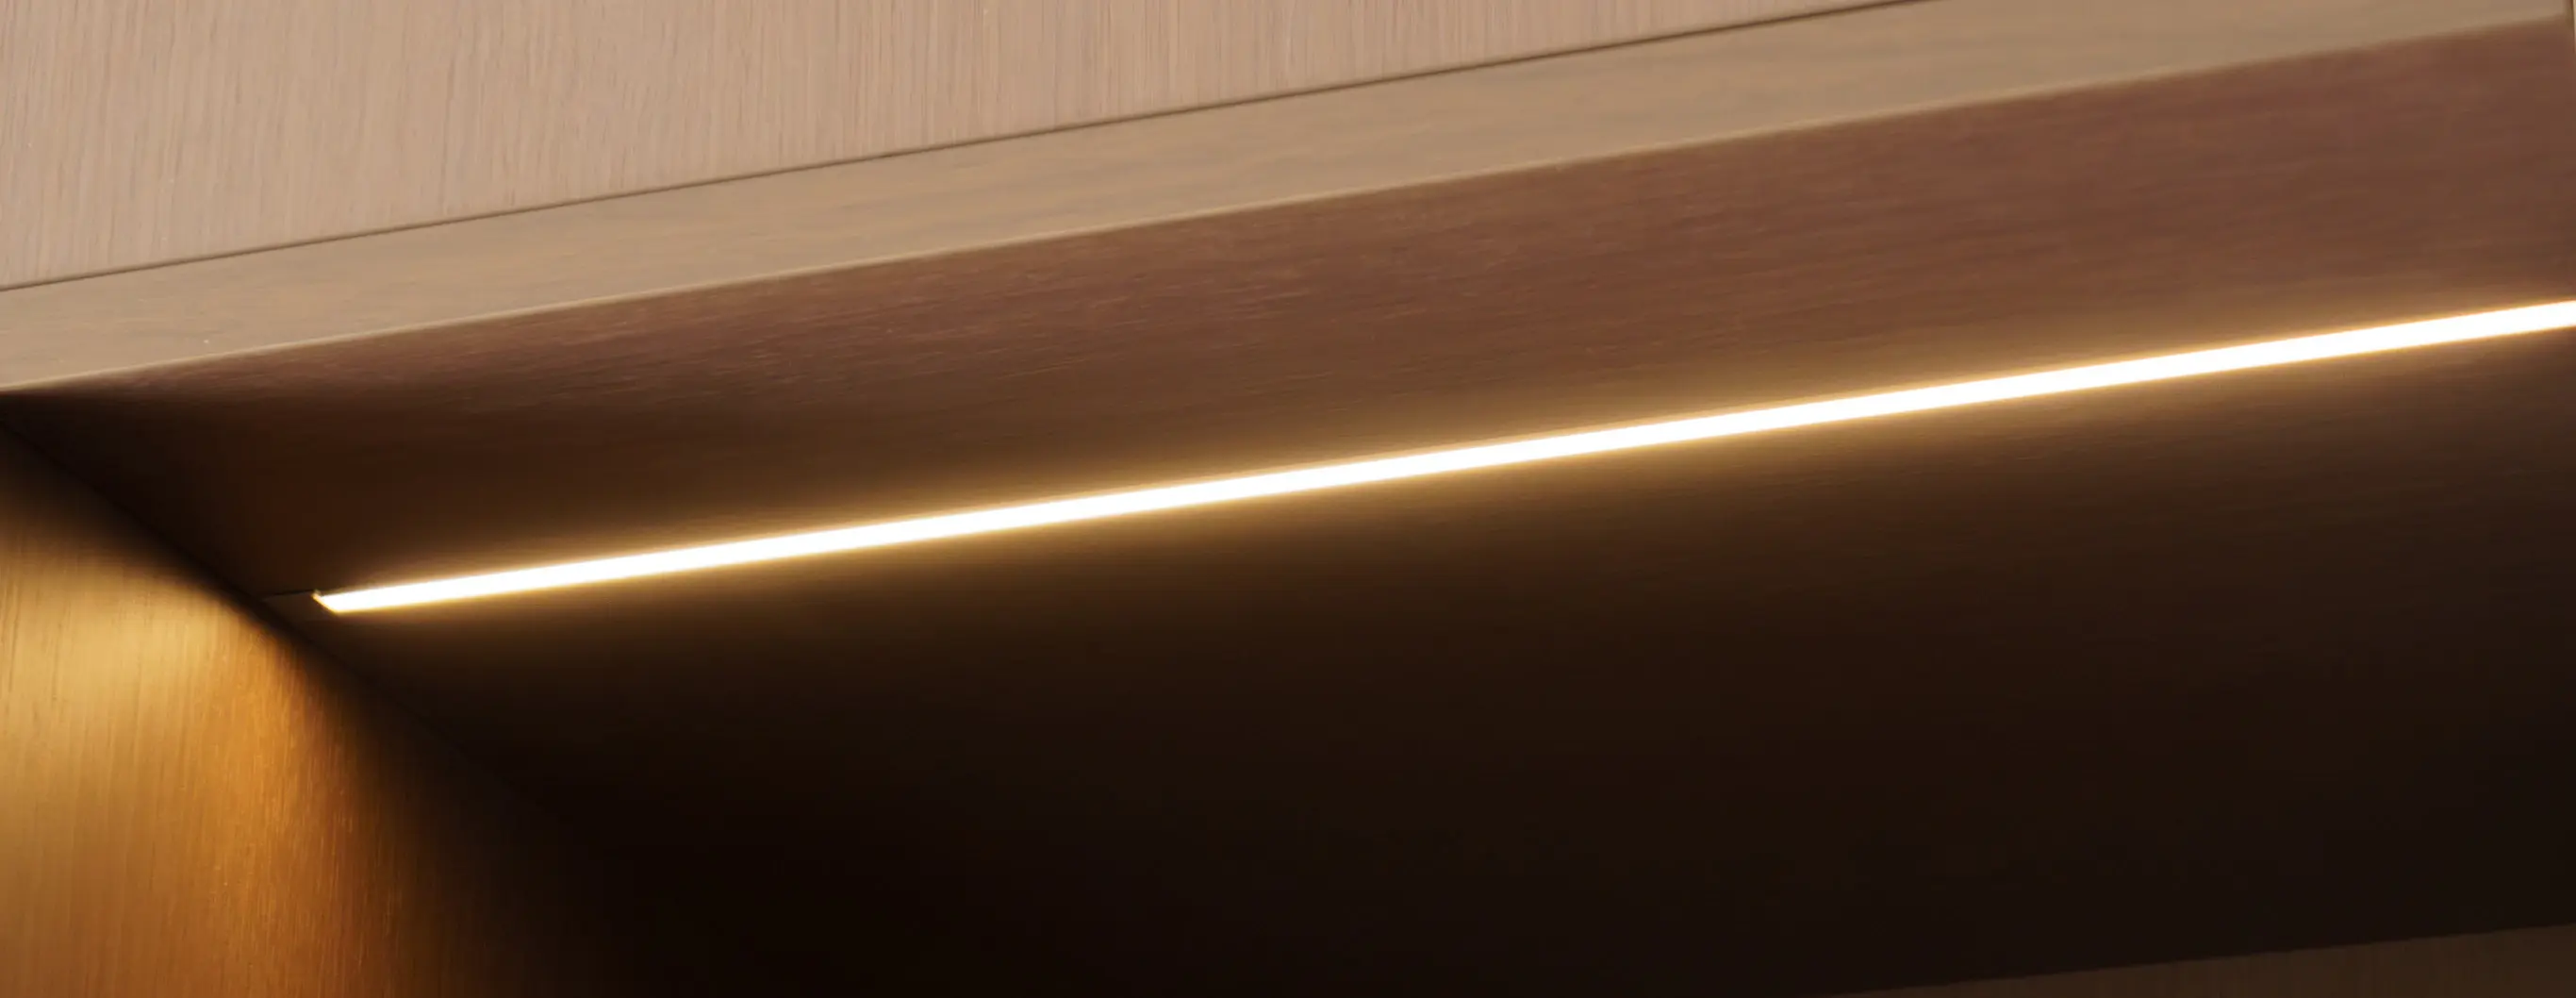
If the cabinets have LED lighting, sockets or sensors, switch every one of them on. Lights should be evenly bright along the whole strip, without flicker, and you shouldn’t see individual LED dots on the surface. Sockets inside cabinets must actually work, and there should be access to the LED driver for repairs later on.
How to check: ask the installer directly where the LED driver is. If a light fails one day, can it be replaced without taking the cabinet apart?
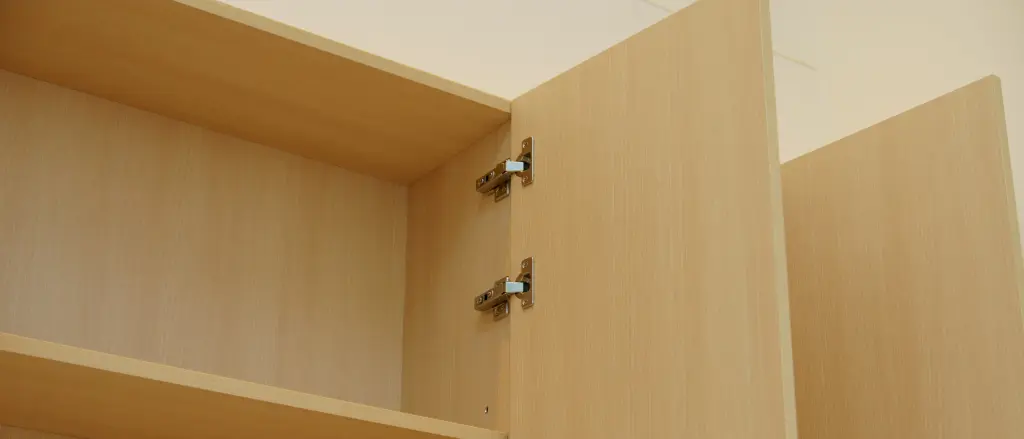
7. Materials and Hardware Match the Quotation
This is the hardest point to check by eye, but the most important in the long run. The board grade, hinges and drawer runners decide how many years the cabinet will last — not just how it works on day one.
How to check: open the doors and look for the brand or logo stamped on the hinges and runners, then compare it with the quotation. For the boards, ask for the label or certificate showing the specified grade, such as moisture-resistant HMR or E0/E1.
Found Something Wrong? Here’s What to Do
Finding things to fix doesn’t automatically mean the work is bad. Almost every built-in job has small touch-ups after installation. What matters is handling them systematically.
- Photograph and list every point. Mark it with coloured tape, take both a close-up and a wider shot, and write it down.
- Separate small touch-ups from major problems. Adjusting a hinge or adding silicone can usually be done in a day; the wrong material or a cabinet in the wrong size means talking about making a new part.
- Agree a fix date in writing. Both sides sign the list of fixes with the date the team will come back.
- Pay the final instalment once everything is fixed, or agree clearly to hold back part of it until the work is complete.
- Ask for the warranty and care instructions before closing the job, so you know what’s covered from here on. See what our warranty covers.
Because You’ll Live With It for Years
Inspecting your built-in furniture isn’t about catching the installers out. It’s about confirming that what you paid for matches what you agreed. Check all seven points — the drawing, door gaps, opening and closing, edges and surfaces, joints, lighting, and material specs — and you’ll have cabinets you don’t need to call anyone back for.
At G-CODE Cabinetry, we inspect every job to our own QC standard from the factory to the site, and run a 24-point handover checklist before every handover. We believe good work should be truly finished on handover day, not left for the customer to discover.
If you’re planning built-ins and want work that’s inspected in detail from day one, talk to our design team on LINE @gcodeth, or see how a project runs from first consultation to handover.