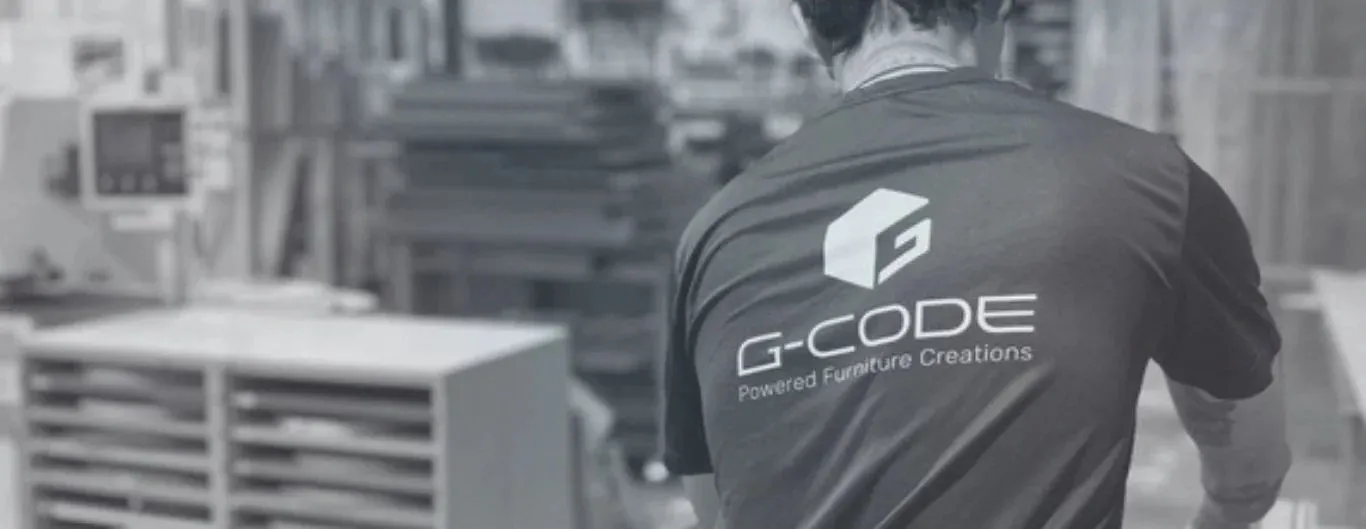
Most people see a built-in cabinet once it’s installed: smooth doors, crisp edges, drawers that glide shut. It looks simple. But before it reaches your home, a single cabinet goes through measuring, design, production and several rounds of inspection.
The problems homeowners often run into — a cabinet that doesn’t look like the render, a drawer that hits a handle, a door that swings into the wall — mostly don’t happen at installation. They happen long before it.
This article walks through what happens along the way, and why each step matters for your home.

1. Site Measurement: Numbers That Have to Be Right From the Start
Most walls aren’t as straight as they look on the floor plan. Some corners are out of square, some floors slope slightly, some parts of the ceiling sit lower than others. A difference of a few millimetres is almost invisible to the eye, but once a cabinet runs the full length of the wall, it becomes an obvious gap.
So we don’t just measure width, depth and height. We measure several points along the same wall and record every socket, switch, water pipe, air-con line and skirting board the cabinet might hit, so the design knows exactly where to avoid, allow for or adjust.
For homeowners: if you plan to change anything in the room — move a socket, add an air conditioner or replace the floor — tell us on measuring day. Every change after this point affects the whole design.
2. Shop Drawings: From a Beautiful Render to a Plan the Factory Can Build
If you ask which step matters most in making a built-in cabinet, our answer is this one.
The 3D render you see during the design meeting helps you decide on the look, colours and proportions. For us, that render is only the starting point. Before anything goes to the factory, we build a detailed 3D model of every part of the cabinet — side panels, shelves, doors, drawers and hardware — placed on the real room dimensions we measured.
Why this much detail?
Because most problems with built-ins aren’t about looks; they’re about everyday use. And those problems only become visible once every part is in the model, for example:
- Can the door open fully, or will it hit the wall, a handle or the next cabinet?
- Can the drawer pull all the way out with a door or skirting board nearby?
- Does the kitchen cabinet leave room for the drain pipe, appliance sockets and the ventilation an oven or fridge needs?
- Does the hidden LED lighting have a cable route, and is the driver somewhere that can be opened for repair later?
- Do the door gaps, wall clearances and lines of each cabinet run as one continuous line?
Everything we find in the model is fixed in the drawing, where changes are quick and cost nothing extra — compared with discovering it on site, where it may mean tearing out, recutting or an awkward fix that never looks as good as intended.
From model to shop drawing
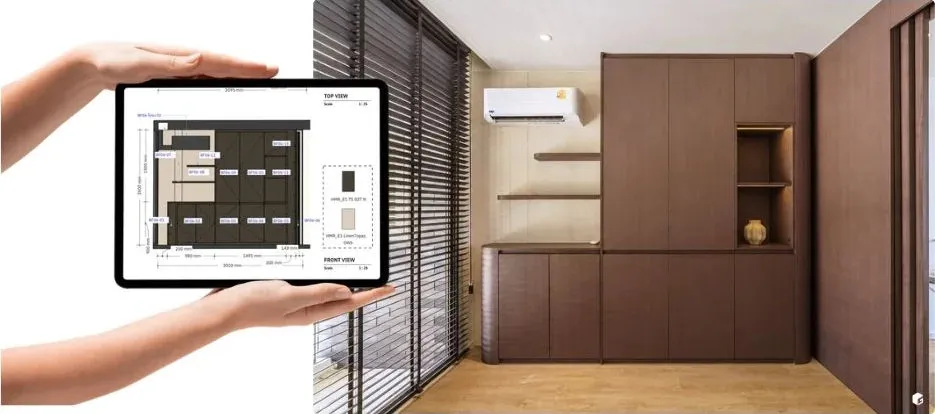
Once the model is right, each part is broken out into a shop drawing that specifies every dimension in millimetres, every drill hole, the grain direction, which edges get banded and the material of each panel. The factory builds to this drawing and nothing else — no guessing, no interpretation. The photo above puts a real shop drawing beside the finished cabinet at the Boro Phase II residence.
That’s why we spend more time on this step than any other: precision in the drawing is what makes the cabinet match what you saw and work smoothly every day, not just look good on handover day.
For homeowners: before you approve the design, picture how you’ll use it day to day — are you left- or right-handed, which shelf height do you reach for most, where will each appliance go? Small details like these help the design fit you better.
3. Choosing and Preparing Materials
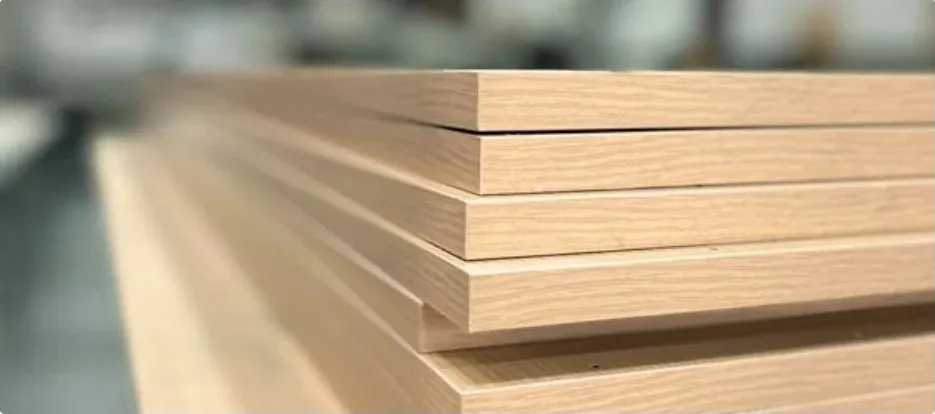
Materials decide how long a cabinet will last. Thailand is humid, especially in kitchens, bathrooms and rooms that stay air-conditioned for long hours. Board that can’t handle moisture slowly swells, its edges peel and its doors start to warp.
That’s why our standard work uses moisture-resistant HMR board, and for homes that care about indoor air quality — with young children, older family members or people with allergies — we now also offer Purple Core Super E0 board, which emits less formaldehyde than standard grades.
Before cutting, every board is checked for surface, colour and grain direction, so neighbouring doors have continuous grain and an even colour.
For homeowners: good materials start with the core, not just the surface colour you see. Always ask your contractor what the board core is.
4. Panel Cutting: Millimetre Precision
Once the shop drawing is ready, every board is cut to its specified size. Precision matters enormously here: a cabinet is assembled from dozens of parts, and if each one is off by even a little, the errors add up to a cabinet that’s out of square, doors that don’t close flush or gaps of uneven width.
Each finished part is labelled with a code showing which cabinet and which room it belongs to, so nothing gets swapped or lost in the steps that follow.
5. Edge Banding: The Detail That Shows Quality
Cabinet edges are what your hands touch most, and where moisture gets in most easily. A poorly sealed edge may look fine on day one, but within a few months moisture creeps into the core and the edge lifts or swells.
A good edge sits flush with the surface, is sealed along its whole length, has no glue squeeze-out, and is finished neatly at the corners so it isn’t sharp. We check the edges of every part before it moves on to the next step.
For homeowners: run your hand along the cabinet edge. If it catches, feels sharp or shows a glue line, that’s the first sign of careless work.
6. Drilling, Assembly and Inspection Before Leaving the Factory
The drilling positions for hinges, drawer runners and handles are already set in the drawing. Drilling in exactly the right place keeps doors level, drawers running straight and hardware working at its best.
Before anything leaves the factory, it has to pass our quality check: size, surface, edges, colour and hardware function. Our principle is that problems should be found at the factory, not in your home — fixing them at the factory is quick, tidy and takes none of your time.
7. Packing, Delivery and Installation
Every part is wrapped against scratches and knocks in transit and labelled with the room it belongs to, so the installation team can work in order without hunting for parts on site.
On installation day, the team sets each cabinet on its designed line, levels it even when the floor or wall isn’t, adjusts every door to an even gap, checks every door and drawer opens and closes properly, and cleans up before handover.
Because everything was prepared in the drawing from the start, installation is a matter of fitting parts into place — not solving problems on site. After handover, the structure and fittings carry a 1-year warranty — see what it covers.
 CONCLUSION
What You See Is the Result. What You Don’t See Is the System.
A cabinet that looks good on day one isn’t hard to make. A cabinet that still glides open, keeps its doors straight and its edges smooth five years from now comes from care at every step from the very first — above all in a drawing where everything is thought through before a single board is cut.
The traditional built-in that many people know means carrying large boards into the house, then cutting, edging and assembling everything on site. It relies mainly on each carpenter’s skill. A good carpenter can do good work, but the result still depends on who does it, the tools on site and the conditions on the day. The accuracy of each part varies, hand-applied edges aren’t even everywhere, and your home fills with sawdust and tool noise for days or even weeks.
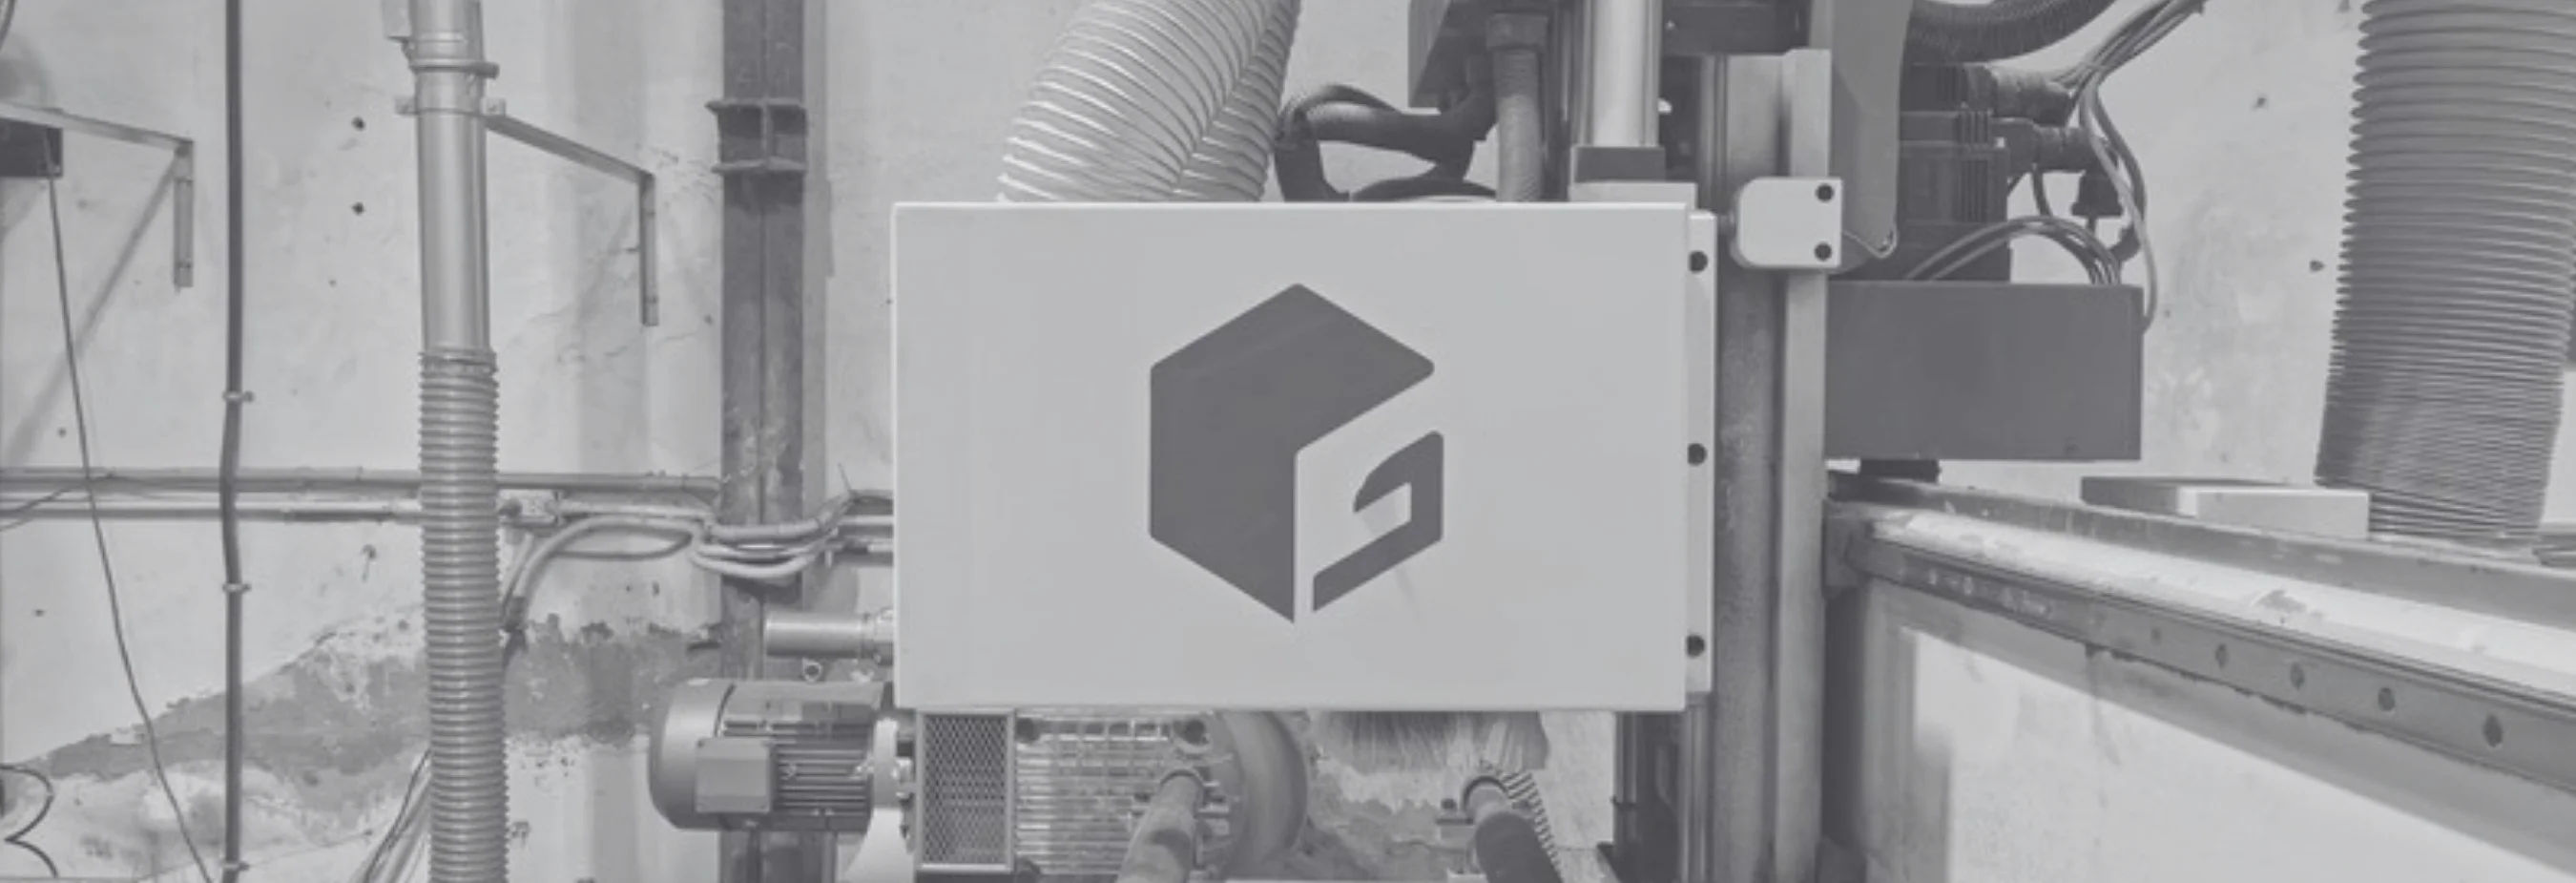
We work differently. Every decision is made in the 3D model before the first board is cut, and our CNC machines then follow that plan precisely — cutting, edge banding and drilling. Our craftsmen’s skill goes where it matters most: quality inspection, assembly and fine-tuning the fit on site.
The result:
- True to the design: what you see in the 3D render is what you get
- Accurate and consistent: every part, door and edge meets the same standard, from the first cabinet to the last
- Smooth to use: doors, drawers and hardware work the way they should, because they were thought through in the drawing
- Fast, clean installation: parts arrive ready to assemble, with less dust, less noise and less time with your home as a building site
- Built to last: machine-sealed edges keep moisture out better, so the cabinets stay in good shape for years
Machines don’t replace care. They turn the care in the drawing into a result you can actually touch in your home.
If you’re planning built-ins and want to see how your home will look before production starts, talk to the G-CODE Cabinetry team, or see how a project runs from first consultation to handover.